

Understanding What You're Working With
Drywall - also called gypsum board or sheetrock - is the standard wall material in most American homes. It consists of a gypsum plaster core pressed between two layers of paper. That composition makes it easy to cut and hang, but also susceptible to dents, nail pops, and holes of all sizes.
Before picking up a putty knife, classify the damage:
- Nail holes and small dents (under ½ inch): Require only spackling compound or lightweight joint compound.
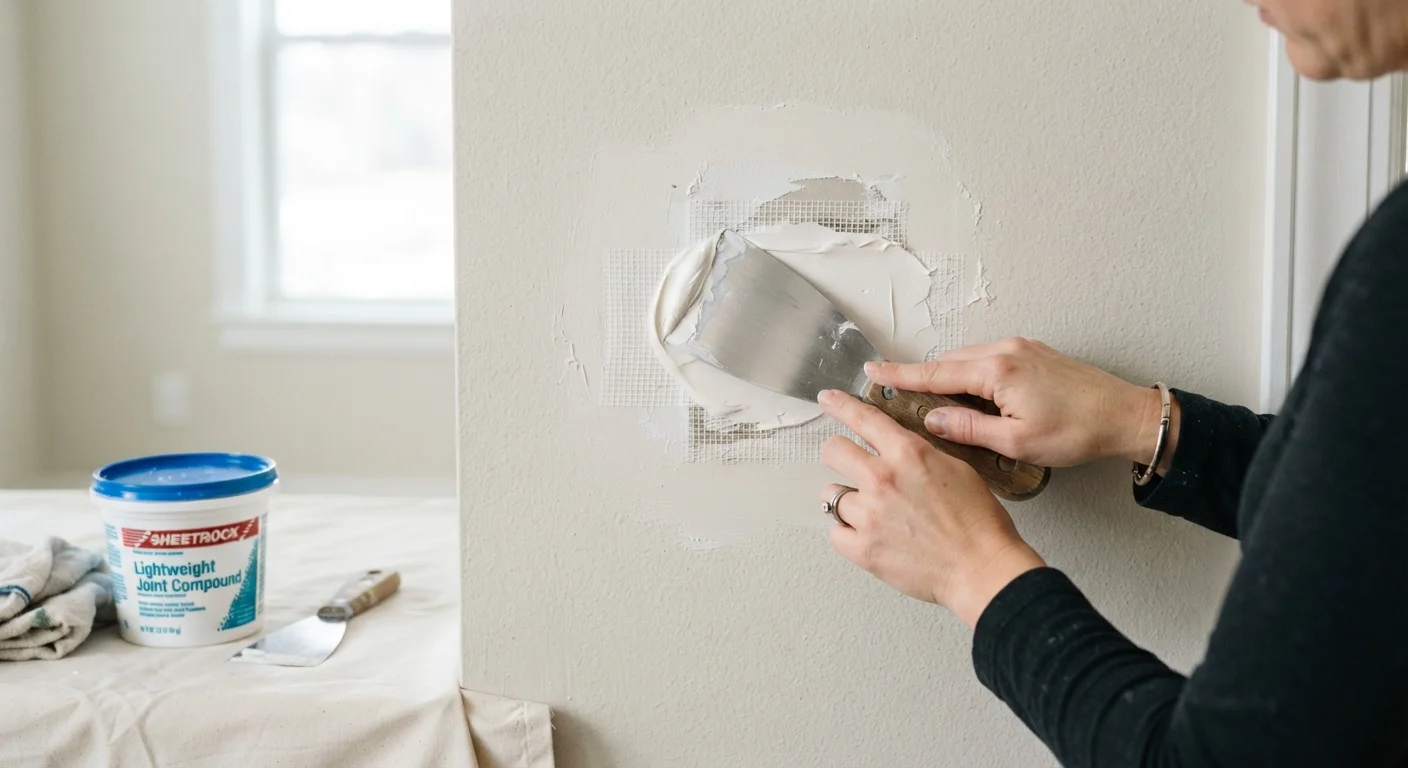
- Medium holes (½ inch to 4 inches): Need a self-adhesive mesh patch or a California patch cut from scrap drywall.
- Large holes (over 4 inches): Require a drywall backer board secured to the studs or a clip-based backer system, plus a cut-to-fit drywall piece.
Identifying the size upfront saves time and prevents a half-finished repair when you realize you need additional materials.
What you will need
Step-by-Step Patching Process
Follow these steps in order. Skipping stages - especially drying time - is the most common reason repairs remain visible after painting.
Clean and Prepare the Damaged Area
Remove any loose paper, crumbling gypsum, or protruding drywall screws around the hole. For nail pops, drive the existing nail slightly deeper with a hammer, then drive a new drywall screw 2 inches above and below it to anchor the panel securely before dimpling the surface. Wipe the area with a damp cloth and let it dry completely.
Apply the Appropriate Patch or Backer
For holes under ½ inch, skip to Step 3. For medium holes (½ inch to 4 inches), center a self-adhesive mesh patch over the hole and press firmly. For larger holes, cut a clean rectangular opening with a drywall saw, insert backer clips or screw wooden backing strips to the inside edges, then cut a drywall piece to fit and screw it to the backer. Apply drywall tape over all seams.
Apply the First Coat of Joint Compound
Load your 6-inch drywall knife with a modest amount of all-purpose joint compound. Apply a thin, even layer over the patch or hole, pressing firmly to fill the void. Feather the edges outward at least 2-3 inches beyond the repair perimeter. The first coat does not need to be perfect - it is a base layer. Scrape off any excess before it begins to set.
Let Dry, Then Sand Lightly
Allow the first coat to dry fully. Joint compound changes from a dark gray to a uniform white when dry - typically 4 to 8 hours depending on humidity and coat thickness. Once dry, sand lightly with 120-grit sandpaper using a sanding block. The goal is to knock down ridges, not remove material. Wipe away dust with a dry cloth before proceeding.
Apply Second (and Third) Coats
Apply a second coat of joint compound with a wider knife (8 to 10 inches), feathering the edges 2-3 inches beyond the first coat. Each successive coat should extend the feathered zone outward to create a gradual, imperceptible transition. Most repairs need two to three total coats. Sand lightly between each coat after it dries fully.
Prime and Paint the Repaired Surface
Once the final coat is sanded smooth and all dust removed, apply one coat of drywall PVA primer over the patched area. Allow it to cure per the manufacturer's label. Then apply your finish paint in the same color and sheen as the surrounding wall, feathering the painted area into the existing surface to blend the repair seamlessly.
Texture Matching Takes Practice
If your walls have a texture - such as orange peel or knockdown - you'll need to replicate it before painting. Practice the technique on a scrap piece of cardboard first. Texture sprays are widely available and can be adjusted for coarseness, but a light hand is essential to avoid over-applying.
Finishing and Painting for an Invisible Result
A technically sound patch can still look wrong if the painting stage is rushed. Two details matter most: primer and sheen matching.
Joint compound is porous and will absorb paint differently than the surrounding wall. Skipping primer causes a dull, flat spot called flashing that catches light even when the color matches perfectly. Apply one coat of drywall primer (PVA primer is widely used for this purpose) and let it cure fully before topcoating.
When selecting paint, bring a chip or photo of your existing wall color to a paint store for a computer match if you don't have leftover paint. Also note the sheen - flat, eggshell, satin, and semi-gloss all reflect light differently. Mismatched sheen is often more visible than a slight color variation.
Apply paint in the same direction as the surrounding wall. Feather the edges of your painted area outward to blend the repair zone into the existing surface. In many cases, repainting the entire wall panel - from corner to corner - produces the cleanest result and eliminates any visible boundary.
The content on this site is provided for informational purposes only and should not be considered a substitute for professional advice. While we strive to provide accurate and up-to-date information, we make no guarantees regarding its completeness or accuracy. Always consult a qualified professional for advice specific to your circumstances before making any decisions.