

Why Pre-Trip Vehicle Checks Matter
A breakdown on a busy interstate - or worse, a remote two-lane highway - isn't just an inconvenience. It can be expensive, dangerous, and trip-ending. The good news is that the majority of roadside failures are preceded by warning signs a driver could have caught with a simple inspection beforehand.
This guide walks you through the checks that matter most before a long drive. They don't require a lift, a shop, or mechanical training - just 30 to 60 minutes and a methodical approach. For a broader preparation overview that goes beyond the vehicle itself, see the pre-departure road trip checklist.
What you will need
Step-by-Step Vehicle Inspection
Work through the checks below in sequence. Starting outside the vehicle and then moving under the hood keeps the process efficient and ensures nothing gets skipped.
Check Tire Pressure and Condition
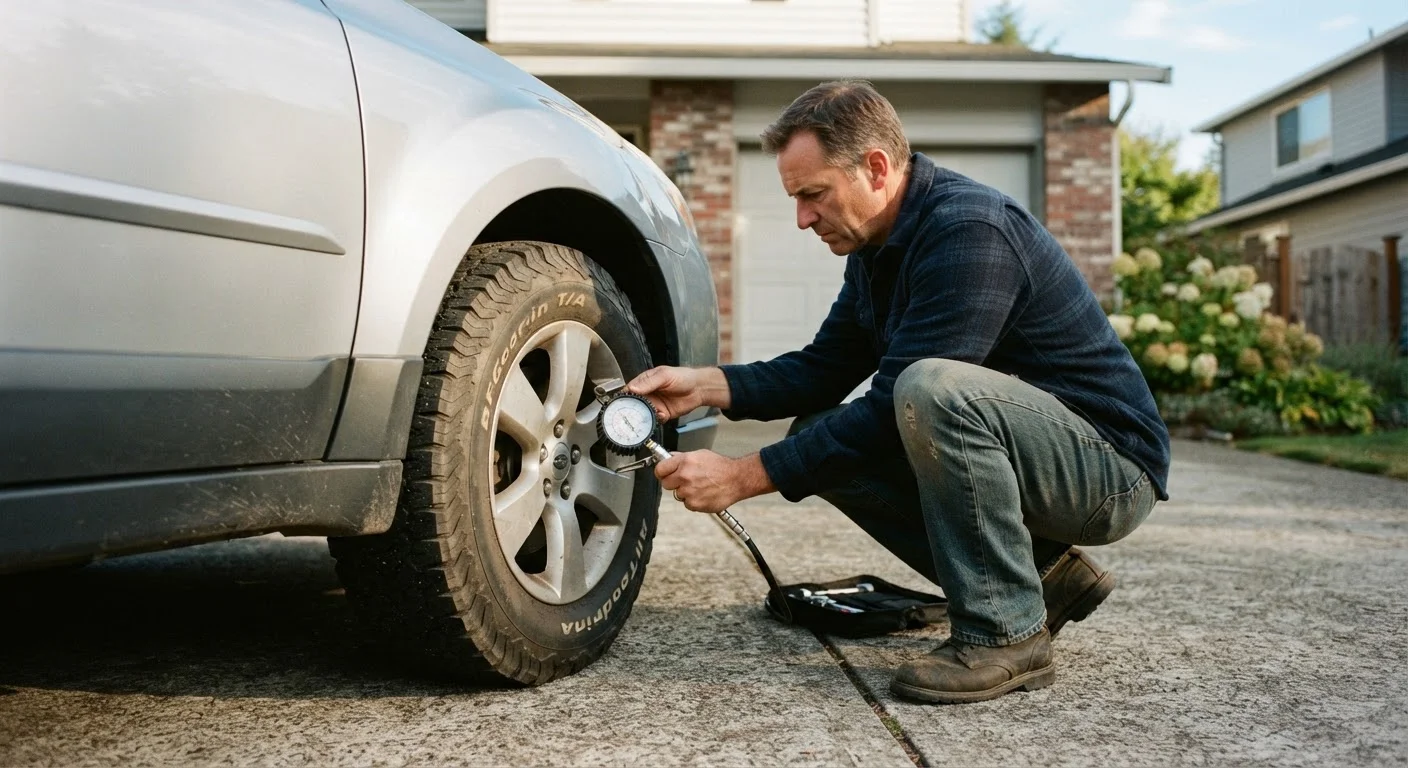
Locate the recommended tire pressure for your vehicle - it's printed on a sticker inside the driver's door jamb, not on the tire sidewall. Use a gauge to check all four tires when they're cold (driven less than a mile). Inflate or deflate as needed.
While you're at each tire, inspect the tread depth using the quarter test: insert a quarter into a tread groove with Washington's head facing down. If you can see the top of his head, tread is getting low. Also look for sidewall cracks, bulges, or embedded objects. Don't forget the spare - a flat spare at the trailhead is a common and avoidable problem.
Inspect All Fluid Levels
With the engine off and cooled, check the following under the hood:
- Engine oil: Pull the dipstick, wipe it clean, reinsert fully, then pull again. Oil should read between the min and max marks and appear amber to dark brown - not milky or gritty.
- Coolant: Check the translucent reservoir (never open the radiator cap on a hot engine). The level should fall between the low and full lines.
- Brake fluid: Locate the small reservoir near the firewall. It should be at or near the max line. Significantly low brake fluid can indicate a leak or worn pads.
- Power steering fluid: If your vehicle has hydraulic power steering (many newer cars use electric), check the reservoir level and note any unusual smell.
- Windshield washer fluid: Top this off completely - you'll use more than you expect on a long drive.
Test All Lights
Walk around the vehicle with a helper or use a reflective surface to verify that all lights are functioning: headlights (low and high beam), taillights, brake lights, turn signals, reverse lights, and hazard flashers. A burned-out brake light is both a safety hazard and a traffic stop waiting to happen.
Also check that your interior lights, dashboard illumination, and any cargo area lights work properly.
Examine Wipers and Windshield
Run your wipers on a wet windshield and look for streaking, skipping, or squeaking - all signs that blades need replacing. Wiper inserts are inexpensive and take minutes to swap. Also inspect the windshield for cracks or chips; a small chip at the edge of the glass can spread rapidly under highway vibration and temperature changes. Many glass repair services can fix minor chips quickly before a trip.
Listen and Feel for Brake Issues
Before loading the car, drive slowly in a quiet area and apply the brakes firmly. Note any grinding, squealing, vibration through the pedal, or pulling to one side. These are warning signs that pads, rotors, or brake hardware may need attention. A soft or spongy pedal that sinks toward the floor is a more urgent concern - have a mechanic inspect the system before driving any distance.
Check Belts, Hoses, and Battery
With the engine off, visually inspect the serpentine belt for cracking, fraying, or glazing. Check visible hoses for soft spots, bulges, or dried-out sections near clamps. These components don't often fail without warning signs, but those signs are easy to miss if you're not looking.
For the battery, look for corrosion on the terminals (a white or blue-green buildup) and ensure the connections are tight. If your battery is more than three to four years old or has been slow to start recently, consider having it load-tested at an auto parts store - many offer this at no charge.
What to Do If You Find a Problem
Finding an issue during your inspection is far better than discovering it at highway speed. Minor problems - a slightly low tire, a cracked wiper blade, a dim headlight - can typically be addressed quickly at any auto parts store or service station. More significant concerns, such as spongy brakes, visible belt fraying, or an oil level that's critically low with no clear explanation, warrant a visit to a qualified mechanic before departure. Do not defer brake or steering issues.
For unfamiliar checks or anything that seems ambiguous, the DIY car checks guide offers additional walkthrough detail. And once your vehicle is cleared, stocking a proper emergency kit ensures you're covered if something unexpected happens on the road anyway.
When to See a Mechanic Before You Go
Some findings from a pre-trip inspection go beyond a driver's ability to address safely at home. Spongy brake pedals, visible fluid leaks under the vehicle, belt fraying, or an engine warning light that's newly illuminated all warrant professional evaluation before departure. Delaying these repairs to "see how it goes" on a long drive is a risk not worth taking. Budget an extra day before your trip to allow time for a shop visit if your inspection turns up concerns.
The content on this site is provided for informational purposes only and should not be considered a substitute for professional advice. While we strive to provide accurate and up-to-date information, we make no guarantees regarding its completeness or accuracy. Always consult a qualified professional for advice specific to your circumstances before making any decisions.