

Start here
Why Your First Project Choice Matters
Next
How to Size a Project to Your Current Skills
Then
Great Starting Projects for True Beginners
Gear up
Tools You Actually Need First
Know your limits
When to Call a Professional Instead
Why Your First Project Choice Matters
Most people who abandon DIY don't quit because they lack ability - they quit because their first project was the wrong size. They tackled something too complex, ran into unexpected complications, and walked away convinced that home improvement simply isn't for them. That narrative is almost always wrong.
The goal of your first project isn't to transform your home. It's to finish something, feel competent, and want to do it again. A well-chosen starter project produces exactly that loop. A poorly matched one produces a half-finished room and a toolbox that goes back to the garage.
If you're new to owning a home, pairing this article with a broader look at routine upkeep is worthwhile. Our guide on home maintenance for first-time owners covers the essential recurring tasks and helps you see how improvement projects fit into the larger picture of keeping your home healthy.
Load-bearing wall
A wall that supports the weight of the structure above it. Removing or altering one without professional guidance can compromise your home's structural integrity.
Permit
Official approval from your local government required before certain types of construction or renovation work begins. It ensures the work is inspected and meets local building codes.
Drywall compound
A plaster-like paste used to fill, patch, and smooth holes or seams in drywall surfaces before painting. Also called joint compound or mud.
Weatherstripping
Flexible sealing material applied around doors and windows to block drafts, moisture, and energy loss at the gaps between the frame and the movable part.
Caulk
A flexible, waterproof sealant applied along joints or gaps - around tubs, windows, and trim - to prevent water intrusion and air leaks.
Surface preparation
The process of cleaning, sanding, or priming a surface before applying paint, caulk, or compound. Skipping it is the most common reason finishes look poor or fail early.
How to Size a Project to Your Current Skills
A well-sized beginner project shares four characteristics: it's completable in a weekend, it's low-risk if done imperfectly, it doesn't require a permit, and it produces a visible result you'll actually notice. Run any potential project through that filter before committing.
Ask yourself these questions before choosing:
- Can I realistically finish this in the time I have?
- If I make a mistake, can I correct it without professional help?
- Does this require touching electrical wiring, gas lines, or load-bearing walls?
- Do I understand every step, or are there parts I'm guessing at?
If your honest answers raise red flags, scale back. A smaller, completed project is worth far more to your development than an ambitious one you abandon halfway through.
It also helps to think about your project budget early. Our step-by-step budgeting guide can help you set realistic spending limits before you head to the hardware store.
Great Starting Projects for True Beginners
The following project types consistently work well for first-timers. They're forgiving, instructional, and satisfying to complete.
Interior Painting
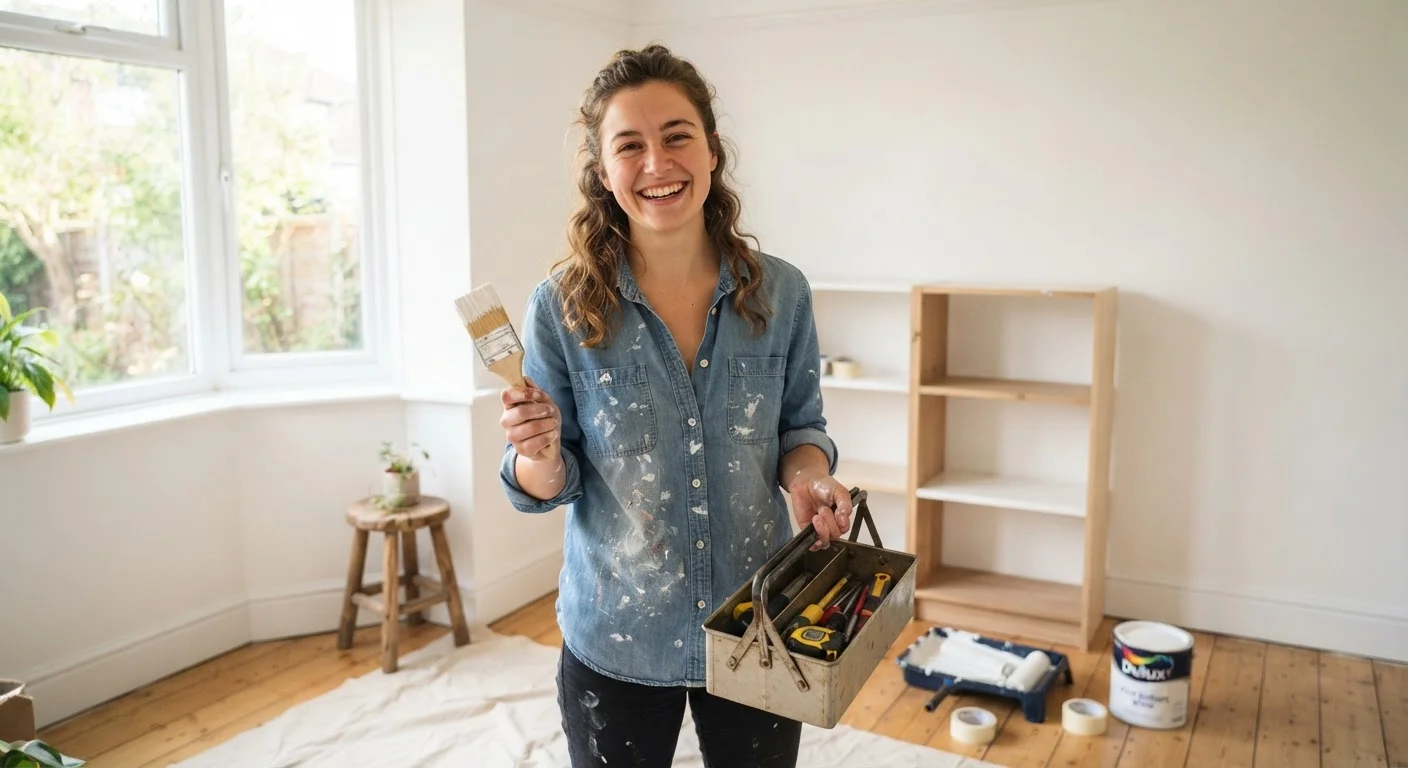
Painting a single room is the classic beginner project for good reason. The technique is learnable in an afternoon, the materials are affordable, and a fresh coat of paint is one of the highest-impact changes you can make to a space. Mistakes are fixable with another coat.
Weatherstripping and Door Seals
Replacing worn weatherstripping around exterior doors is inexpensive, takes under an hour per door, and delivers real energy savings. No special tools required beyond a utility knife and a tape measure.
Patching Small Drywall Holes
Small holes left by picture hooks or doorknob impacts can be patched with a basic repair kit. The process teaches you about surface preparation, compound application, and painting - skills that transfer to many future projects.
Replacing Cabinet Hardware
Swapping out old cabinet pulls and knobs is almost entirely risk-free. It requires only a screwdriver, takes minutes per piece, and can noticeably modernize a kitchen or bathroom without touching plumbing or electrical systems.
Caulking Windows and Tubs
Fresh caulk around tub surrounds or drafty window frames prevents water intrusion and heat loss. It's a skill that pays for itself quickly and introduces you to the importance of surface prep and finish work.
Note that more complex renovations - like a full bathroom overhaul - involve plumbing, permits, and sequencing decisions that go well beyond beginner scope. Our article on what homeowners should know before remodeling a bathroom explains why that complexity matters.
Tools You Actually Need First
Resist the urge to buy a comprehensive tool collection before you've done anything. Build your kit around your first few projects and add as needs arise. Most beginner projects are fully covered by:
- Tape measure - 25 feet covers most interior tasks
- Hammer - a 16 oz. claw hammer handles nails and minor demo
- Cordless drill/driver - the single most versatile power tool a homeowner can own
- Level - a 24-inch level prevents crooked shelves and frames
- Utility knife - essential for scoring, trimming, and opening materials
- Flathead and Phillips screwdrivers - multiple sizes
- Adjustable wrench - handles most basic hardware fastening
- Safety glasses and work gloves - non-negotiable for any project
Build Your Toolkit Project by Project
Rather than buying a complete tool set upfront, purchase tools as each project requires them. This keeps initial costs low and ensures every tool you own has an immediate, understood purpose. After five or six projects, you'll have a genuinely useful collection built around real experience.
Store tools properly from the start. A simple wall-mounted holder or basic toolbox keeps gear organized and prevents damage - good habits now save money and frustration later.
When to Call a Professional Instead
Part of growing as a DIYer is developing an accurate sense of where your current abilities end. The following categories of work should always involve a licensed professional, regardless of your enthusiasm level:
- Electrical panel work, new circuits, or outlet additions - incorrect wiring causes fires and electrocution risk. Most jurisdictions require permits and licensed electricians for this work.
- Gas line work of any kind - this is not a beginner task under any circumstances.
- Structural modifications - removing or altering walls, especially load-bearing ones, requires engineering knowledge and permits.
- Roofing and significant plumbing - these carry both safety risks and code requirements that vary by location.
Our guide on DIY versus professional repair decisions walks through this distinction in detail, with specific examples of where the risk threshold lies.
Always verify local permit requirements with your municipality before starting any project that modifies your home's systems or structure. Requirements vary significantly by location, and unpermitted work can create complications when you sell your home.
Starting small, finishing well, and knowing your limits - that's the foundation every confident DIYer builds on. Your first completed project is closer than you think.
Frequently Asked Questions
Interior painting is widely considered the most beginner-friendly project. It requires minimal tools, produces a dramatic visible result, and any mistakes can be corrected with another coat. Caulking gaps and installing weatherstripping are also excellent low-stakes starting points.
If the task involves your home's electrical panel, gas lines, structural walls, or requires a permit, it belongs in a professional's hands. A good rule: if getting it wrong could injure someone or require opening walls to fix, hire out. See our guide on <a href="/home-garden/home-maintenance/diy-home-repairs-where-the-line-between-safe-and-risky-really-falls">where the DIY line really falls</a> for a detailed breakdown.
Most cosmetic work - painting, caulking, replacing cabinet hardware - does not require a permit. Work that modifies plumbing, electrical systems, structural elements, or adds square footage typically does. Requirements vary by municipality, so check with your local building department before starting anything structural.
A hammer, tape measure, level, utility knife, set of screwdrivers, adjustable wrench, and cordless drill will handle the vast majority of beginner DIY tasks. Add safety glasses and work gloves before you do anything else.
Many starter projects - patching small wall holes, adding weatherstripping, or replacing door hardware - cost between $20 and $100 in materials. Painting a single room typically runs $50-$150 in supplies depending on room size and paint quality. Budget carefully and leave a small buffer for unexpected needs.
Both have merit, and using them together tends to work best. Written instructions give you the full sequence; video tutorials show you what correct technique actually looks like in motion. Read through the complete process before you start - surprises mid-project are rarely welcome.
The content on this site is provided for informational purposes only and should not be considered a substitute for professional advice. While we strive to provide accurate and up-to-date information, we make no guarantees regarding its completeness or accuracy. Always consult a qualified professional for advice specific to your circumstances before making any decisions.