

Before You Power On: What to Have Ready
A little preparation goes a long way. Before pressing the power button on your new Android phone, gather a few essentials so the setup process moves smoothly without interruptions.
What you will need
Having these items ready means you won't need to pause mid-setup to dig up a password or hunt for a SIM card tool. The entire process typically takes under an hour.
Step-by-Step: Setting Up Your Android Phone
Android's setup wizard guides you through the basics, but it doesn't always explain the implications of each choice. Follow these steps to make informed decisions at every screen.
Connect to Wi-Fi immediately
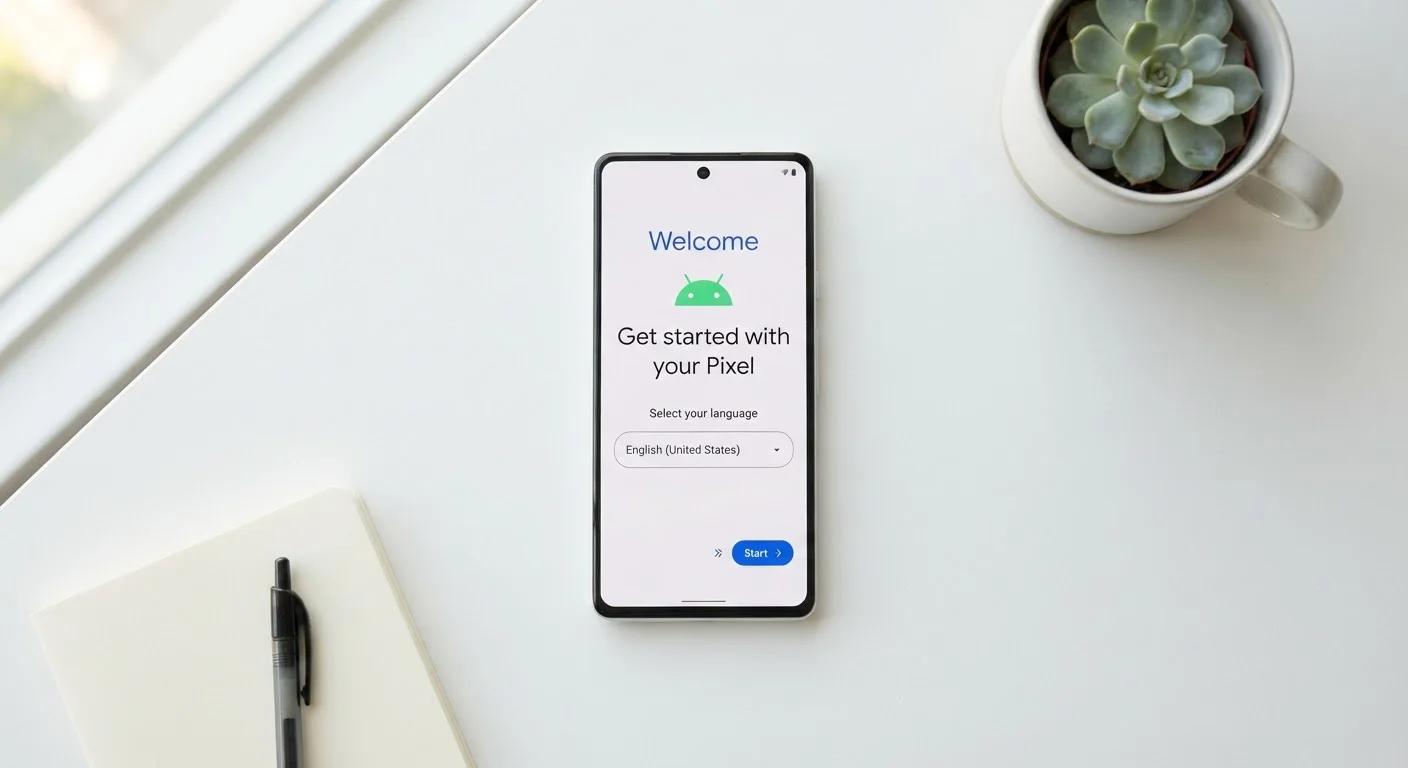
The first screen after powering on will prompt you to select a language and connect to a network. Choose your home Wi-Fi network before proceeding. Setup downloads system updates, app data, and account backups - all of which can consume several gigabytes. Using Wi-Fi avoids potential overage charges on your cellular plan.
Sign in to your Google account
Enter your Google (Gmail) account credentials when prompted. This single step restores your contacts, calendar, previously purchased apps, and Google Drive files automatically. If you're switching from an iPhone, you'll need to use Google's Switch to Android app on your old device before this step to transfer iCloud contacts and photos.
Transfer data from your old phone
Android's setup wizard offers a built-in data transfer option. If your old device is an Android phone, select Copy your data and follow the on-screen instructions to connect the two phones with a cable or over Wi-Fi. This copies texts, call logs, photos, and app data. Select only what you need - transferring everything on an old, cluttered phone can take 30 minutes or more.
Set up a screen lock and biometrics
Choose a PIN, password, or pattern lock when prompted - and opt for a PIN of at least six digits rather than four for meaningfully stronger security. After that, enroll your fingerprint or configure face unlock for convenient day-to-day access. Both options authenticate locally on the device; your biometric data is not sent to Google's servers.
Enable Find My Device
Go to Settings > Security > Find My Device and make sure it is toggled on. This free Google feature lets you locate, lock, or remotely erase your phone if it's ever lost or stolen - but only if it's activated before something goes wrong. You can access it from any browser at android.com/find.
Install updates before adding apps
Navigate to Settings > System > Software Update and check for any pending Android or security updates. Manufacturers often ship phones with software that's several weeks old. Installing updates first means any apps you download afterward benefit from the latest security patches. Let the phone restart if required before moving on.
Once you've completed setup, take an extra few minutes to explore the Settings app. Many default configurations - including aggressive location tracking and ad personalization - aren't optimized for your benefit. Our guide on settings that work against you walks through the most impactful changes to make.
Locking Down Privacy After Setup
Android gives you granular control over what each app can access - but only if you know where to look. Head to Settings > Privacy > Permission Manager to see a full breakdown of which apps have access to your camera, microphone, contacts, and location.
For location specifically, consider setting most apps to Allow only while using the app rather than All the time. This single change reduces background data collection without affecting normal day-to-day use. You can also visit Settings > Google > Ads to opt out of ad personalization tied to your Google account.
Review App Permissions One by One
After setup, it's common to have a dozen or more apps that requested broad permissions during install. Spend five minutes in the Permission Manager reviewing which apps have access to your microphone and camera - you may be surprised by what you find. Revoking unnecessary permissions has no effect on an app's core function in most cases.
For a broader look at digital safety habits, the online safety hub covers everything from secure browsing to protecting personal information across your devices.
The content on this site is provided for informational purposes only and should not be considered a substitute for professional advice. While we strive to provide accurate and up-to-date information, we make no guarantees regarding its completeness or accuracy. Always consult a qualified professional for advice specific to your circumstances before making any decisions.