

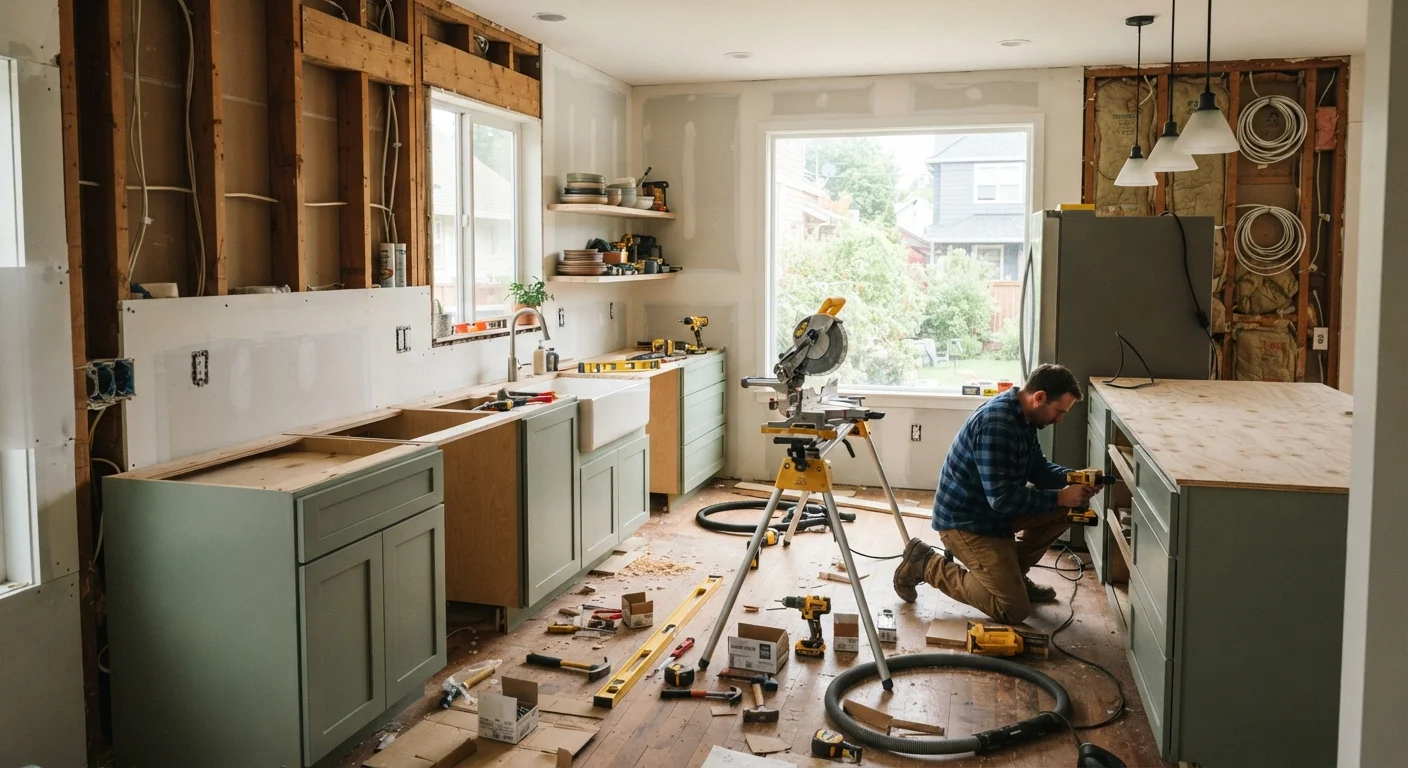
Why Sequence Is the Most Underestimated Part of a Kitchen Remodel
Most homeowners spend months choosing tile, cabinet styles, and appliances - then hand everything off to a contractor and assume it will unfold in the right order. When it doesn't, the result is expensive: drywall torn out to fix a plumbing rough-in, countertop templates taken before cabinets were properly leveled, or a new floor scratched during appliance delivery. Sequencing is not a logistical detail - it is the remodel's backbone.
A kitchen renovation is unlike most home projects because it layers multiple licensed trades - plumbing, electrical, gas - into a tightly confined space, each one dependent on what the previous trade left behind. Before you finalize any finish selections, you need a clear picture of the order in which decisions, deliveries, and workers must arrive. This guide walks you through that order so nothing gets skipped.
If you're newer to home improvement projects generally, start with a smaller project first to build confidence before tackling a full kitchen renovation.
Phase 1: Planning, Permits, and Pre-Order Decisions
Everything before demolition day shapes the entire project. Pull permits before any work begins - electrical, plumbing, and structural permits are legally required in most jurisdictions and protect you if you sell the home. Skipping permits can void homeowner's insurance coverage for work-related damage and may require costly after-the-fact inspections. Check with your local building department early.
Finalize your cabinet layout before ordering anything else. Cabinet dimensions set the countertop template, which in turn governs sink placement, which determines drain and supply rough-in locations. Changes made after cabinets arrive cascade backward through every prior decision. Order cabinets and appliances as soon as measurements are confirmed - lead times commonly run 6 to 12 weeks for semi-custom and custom cabinetry.
Budget planning should account for what you cannot see yet. Hidden expenses routinely derail renovation budgets, including permit fees, disposal costs, and structural surprises found behind walls.
Lock in your cabinet layout before ordering any other materials.
Cabinet dimensions determine countertop size, sink placement, and plumbing rough-in locations. A layout change after ordering triggers a chain of expensive revisions across multiple vendors and trades.
Pull all required permits before demolition begins.
Permits ensure that electrical, plumbing, and structural work is inspected by a licensed official - protecting you from unsafe installations and from legal complications at resale. Unpermitted work can trigger mandatory teardown orders.
Schedule rough-in inspections before closing any walls.
Inspectors need visual access to wiring, pipes, and framing. Closing walls without a passed inspection means you may be required to open them again, doubling labor and drywall costs.
Template countertops only after cabinets are fully installed and leveled.
Countertop fabricators cut to the exact dimensions captured during templating. Any subsequent shift in cabinet position - even a quarter inch - can make a finished slab unusable.
Deliver and install appliances as the final step, after all finish work is complete.
Appliances are expensive and easily damaged by construction dust, tools, and foot traffic. Late delivery also protects floor surfaces from scratches caused by heavy equipment movement.
Phase 2: Demolition Through Rough-Ins
Demolition opens the room for inspection and rough-in work. Remove existing cabinetry, appliances, and flooring in that order - appliances first so they aren't blocking cabinet removal, cabinets before flooring so you don't scratch a new floor. Once walls are open, your plumber, electrician, and HVAC technician do their rough-in work simultaneously if possible, or in close succession.
Rough-in inspections must be passed and signed off before anyone closes the walls with drywall. This is non-negotiable. An inspector who finds a wiring or plumbing problem inside a finished wall will require it to be reopened. Drywall hangs after inspections are complete, then taping, mudding, and priming follow before any cabinetry is set.
Phase 3: Cabinets, Countertops, and Finish Work
Cabinet installation is the pivot point of the entire project. Once cabinets are set, leveled, and secured, countertop fabricators can template - meaning they come to the home and measure for a precise cut. Do not let templating happen before cabinets are fully installed and checked for level; even small gaps produce countertops that don't fit. Standard fabrication after templating runs one to three weeks depending on material.
After countertops are in, backsplash tile is installed - tiling before countertops makes it difficult to achieve clean, tight seams at the joint. Plumbing fixtures (faucet, garbage disposal, dishwasher supply and drain) are connected once the countertop is set. Electrical finish work - outlets, switches, under-cabinet lighting - follows drywall and happens before or alongside cabinet installation, never after.
Flooring is best installed before cabinets in a gut renovation, or after in a partial remodel where existing floor layout stays intact. Appliances are the very last items delivered and installed, protecting them from construction traffic and debris. For a contrasting look at how trade sequencing differs in other rooms, see our guide on what to know before remodeling a bathroom.
The content on this site is provided for informational purposes only and should not be considered a substitute for professional advice. While we strive to provide accurate and up-to-date information, we make no guarantees regarding its completeness or accuracy. Always consult a qualified professional for advice specific to your circumstances before making any decisions.