

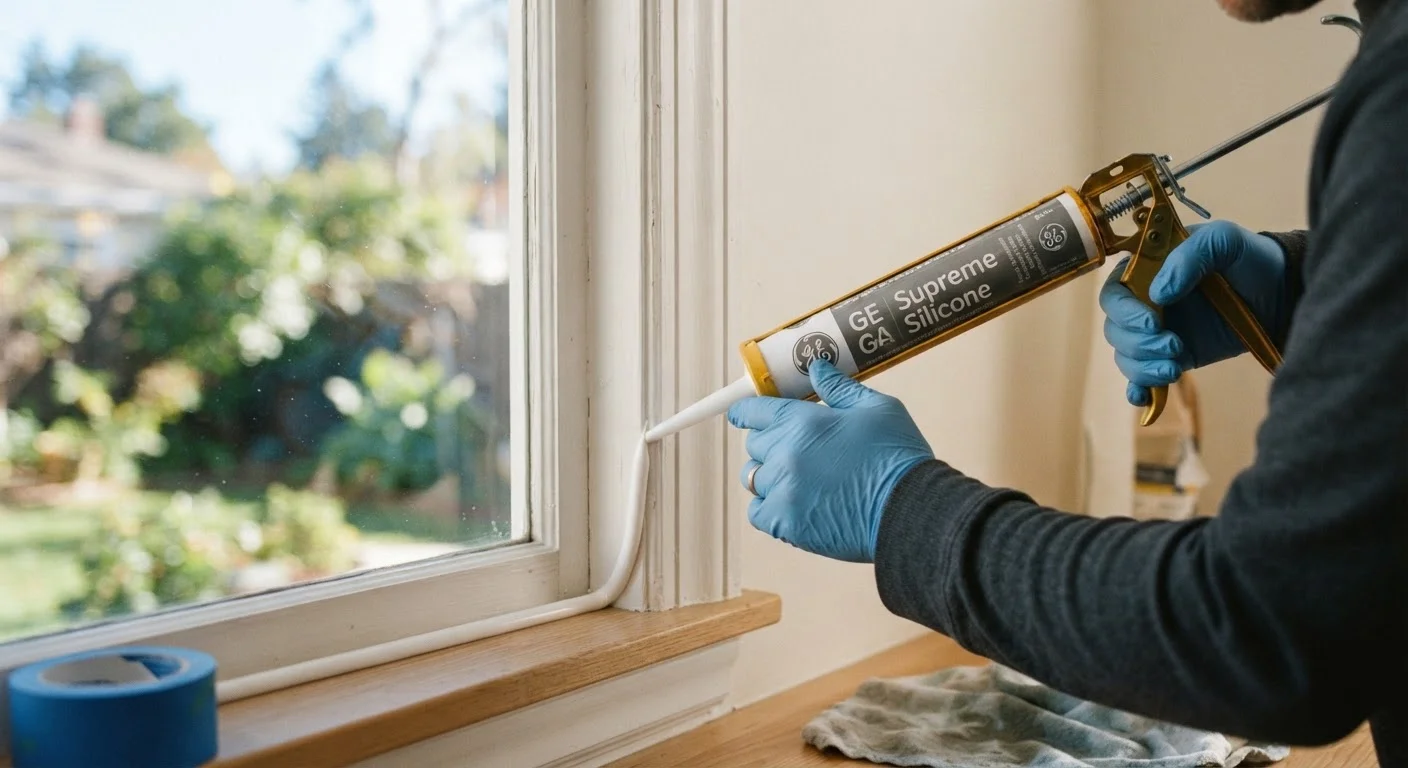
Why Window and Door Gaps Are Worth Your Attention
Air infiltration through gaps around windows and doors is one of the most common - and correctable - sources of energy loss in American homes. Even small separations in aging caulk can allow conditioned air to escape and outdoor air to push in, making heating and cooling systems work harder to maintain a comfortable temperature. This is worth addressing as part of a broader seasonal maintenance routine; our room-by-room winterizing guide covers additional steps to take before cold weather sets in.
Beyond energy costs, unsealed gaps are an entry point for moisture. Over time, water intrusion around poorly sealed frames can lead to wood rot, mold growth, and structural deterioration - issues explored further in our article on how moisture gets into walls. The good news: caulking is inexpensive, beginner-friendly, and requires only a few basic tools.
This task pairs well with a seasonal home inspection, when you are already walking the perimeter and interior looking for things to address before conditions change.
Caulk Only Stationary Surfaces
Caulk is designed for fixed joints - it will crack and fail quickly if applied across a moving gap, such as the edge of an operable door or window sash. For parts that open and close, weatherstripping is the correct solution. See our guide on caulk vs. weatherstripping to understand where each material belongs.
What You'll Need
Before you begin, gather the materials listed below. Having everything on hand before you start keeps the process efficient - caulk begins to skin over quickly once applied, and you do not want to stop mid-seam to track down a tool.
Caulk gun
Applies caulk from a standard tube with consistent, controlled pressure.
Caulk (latex or silicone formula)
The primary sealing material applied to gaps around window and door frames.
Utility knife or caulk removal tool
Cuts and scrapes away old, cracked caulk before the new layer is applied.
Painter's tape
Creates clean, straight lines on either side of the joint for a tidy finish.
Damp cloth or sponge
Smooths the caulk bead and cleans up excess while still wet.
Rubbing alcohol or mild cleaner
Degreases and cleans the surface so caulk bonds reliably.
For most interior window and door trim work, a basic caulk gun and a tube of paintable latex caulk will cover the job. Exterior applications and high-moisture areas call for a silicone-based or siliconized latex formula. For more guidance on when each type is appropriate, see our comparison of caulk vs. weatherstripping.
How to Caulk Windows and Doors
Follow these steps in order for the best results. Thorough preparation - finding the leaks, selecting the right caulk, and removing old material - accounts for more of the final quality than the application itself.
Locate the air leaks
Start by running your hand slowly along the perimeter of each window and exterior door on a windy day. Pay attention to the seam where the frame meets the wall, the corners, and any trim gaps. For a more precise check, hold a lit stick of incense near the joint - moving smoke indicates airflow. Visible caulk that is cracked, shrunken, or pulling away from the surface is a reliable sign that sealing is overdue.
Choose the right caulk
For interior window frames and trim, paintable latex caulk (also called acrylic latex) is easy to apply, cleans up with water, and takes paint well. For exterior applications or areas exposed to moisture - such as where a frame meets siding or masonry - silicone or siliconized latex caulk offers better flexibility and weather resistance. Read the product label to confirm it is rated for your specific surface type (wood, vinyl, brick, or aluminum).
Remove old caulk completely
Use a utility knife to score and slice away as much old caulk as possible, then use a plastic scraper or dedicated caulk removal tool to clear the remainder. Skipping this step is the most common reason new caulk fails early - new material applied over old, degraded caulk will not bond to the underlying surface. Take your time in corners and where the frame meets the wall.
Clean and dry the surface
Wipe the joint area with rubbing alcohol or a mild household cleaner to remove dust, grease, and residue. Allow it to dry fully before applying caulk. Moisture or oil left on the surface will prevent adhesion and shorten the life of the seal. On exterior surfaces, avoid caulking in rain or when temperatures are below the range specified on the caulk label (typically 40°F-90°F).
Apply the caulk in a steady bead
Cut the tip of the caulk tube at a 45-degree angle, making the opening slightly smaller than the gap you are filling. Insert the tube into the caulk gun and apply steady, even pressure as you draw the gun along the joint in one continuous motion. Aim for a consistent bead that slightly overlaps both surfaces on either side of the gap. If you are new to this, practice on a piece of cardboard first to get a feel for the flow rate.
Smooth and finish the bead
Immediately after applying the bead, wet your finger or a damp cloth and run it along the caulk line with light, even pressure to press the material into the gap and create a smooth concave surface. Remove any painter's tape while the caulk is still wet, pulling it away at a 45-degree angle. Allow the caulk to cure fully - check the label for timing, as latex may be paintable in an hour while silicone often requires 24 hours before painting or exposure to water.
Keeping It Up Over Time
Caulk does not last forever. Depending on the material, climate exposure, and surface movement, most exterior caulk warrants inspection every three to five years. Interior caulk around window trim typically lasts longer. Build a quick visual check into your regular home maintenance rhythm - if you already walk the exterior looking at gutters and drainage, adding a glance at window and door seams takes only a few extra minutes.
Signs that caulk is due for replacement include visible cracking, gaps between the caulk and the frame, a chalky or powdery texture, or any area where the caulk has fully separated from one surface. Catching these early keeps the job small and straightforward - exactly the kind of maintenance that prevents bigger, more expensive problems down the line.
The content on this site is provided for informational purposes only and should not be considered a substitute for professional advice. While we strive to provide accurate and up-to-date information, we make no guarantees regarding its completeness or accuracy. Always consult a qualified professional for advice specific to your circumstances before making any decisions.